Troubleshooting Adjusting Cabinet Doors

Sometimes cabinet doors can become misaligned or won’t close properly. Here are some steps to troubleshooting and adjusting your cabinet doors so that they close smoothly.
Step 1: Check the hinges – Make sure the hinges are securely fastened to both the cabinet frame and the door itself. Tighten any screws that may have come loose over time.
Step 2: Adjust the hinges – If the hinges are in good condition, try adjusting them. Use a screwdriver to adjust the screws located on the hinges. Turning the screws clockwise will push the door away from the hinge, while turning them counterclockwise will pull the door closer to the hinge.
Step 3: Check the alignment – If the hinges are tightened and adjusted properly, check the alignment of the doors. Make sure they are level and flush with each other. If not, use a level to adjust the alignment.
By following these troubleshooting steps, you can easily adjust your cabinet doors and keep them functioning smoothly.
How to Adjust Cabinet Doors
Cabinet doors are a part of many DIY home improvement projects. However, when it comes to troubleshooting, cabinet doors can be a source of frustration. From gaps and rubs to misalignment, there are many common issues that can arise when adjusting cabinet doors.
In this article, we’ll take a look at some of the most common cabinet door issues and discuss how you can troubleshoot them.
Sagging Cabinet Doors
Sagging cabinet doors can be a common issue in homes, but it can be fixed easily by adjusting the hinges. Here is a step-by-step guide on how to adjust cabinet doors:
1. Identify the problematic door – check the top, bottom, and sides of the door to see where the problem lies.
2. Locate the hinges – most cabinet doors have two or three hinges.
3. Tighten the screws – using a screwdriver, tighten the screws on the hinge that is positioned closest to the sagging area. Make sure not to over-tighten it.
4. Test the door – open and close the door to see if the problem has been resolved. If it has not, move on to the next hinge and repeat the process.
5. Adjust the hinges – if tightening the screws did not solve the problem, try adjusting the hinges up or down using a screwdriver until the door hangs correctly.
By following these simple steps, you can adjust your cabinet doors and fix the sagging problem in no time.
Worn out or Malfunctioning Hinges
Worn-out or malfunctioning hinges are a common issue for cabinet doors. Adjusting cabinet doors is an easy process that you can do yourself with a few basic tools.
Here are the steps to follow:
Locate the screws on the hinge that secure it to the door and the cabinet.
Tighten any loose screws with a screwdriver. If the screw holes are stripped, fill them with wood putty and let it dry completely before reattaching the hinge.
If the hinge is still loose, try adjusting its position using a Phillips head screwdriver by loosening the screws that hold it in place and readjusting it. Once you have it in the correct position, retighten the screws.
If the door is sagging or misaligned, adjust the hinge by loosening its screws and tapping the hinge with a hammer to reposition it. Once it’s in the correct position, retighten the screws.
If the hinge is rusted or damaged beyond repair, you may need to replace it entirely.
With these troubleshooting tips, you can easily adjust your cabinet doors and fix some common cabinet door issues without calling a professional.
Misaligned Cabinet Doors
Misaligned cabinet doors can be a common issue that can make your kitchen look untidy and pose functionality problems. Fortunately, adjusting cabinet doors can be an easy DIY fix that will make your cabinets look and function like new.
Here’s how to adjust cabinet doors yourself:
Locate the hinge on the cabinet door that needs adjusting.
Use a screwdriver to loosen the screws on the mounting plate attached to the cabinet frame.
Adjust the position of the cabinet door by moving it up, down, left or right until it’s flush with the surrounding doors or drawers.
Tighten the screws on the mounting plate to secure the cabinet door in place.
Test the door to ensure it opens and closes smoothly.
Pro Tip: If you’re having trouble adjusting the cabinet doors, enlist a friend or family member to help hold the door as you make the necessary adjustments.
Tools Required for Adjusting Cabinet Doors
Adjusting cabinet doors is a simple process that can go a long way in maintaining the overall look and feel of your cabinets. There are a few basic tools you will need to have on hand before you start the process. Depending on the type of cabinets you have, the tools you will need may differ.
Let’s take a look at what you will need to have to adjust your cabinet doors.
Screwdriver
A screwdriver is an essential tool for adjusting cabinet doors. Here are the steps to follow for troubleshooting and adjusting cabinet doors:
Verify that the screws are loose or tight enough in the door hinges.
Use the screwdriver to tighten or loosen the screws in small increments until the door is straight and level.
If the doors are still not level, loosen the screws on the hinge plate attached to the cabinet frame.
Gently lift or lower the door to the desired height while holding it in place.
Tighten the screws on the hinge plate back to secure the door position.
Using a screwdriver is a simple yet effective way to adjust cabinet doors and make them level and functional. Pro tip- Regular maintenance of cabinet doors can reduce the need for future adjustments.
Drill
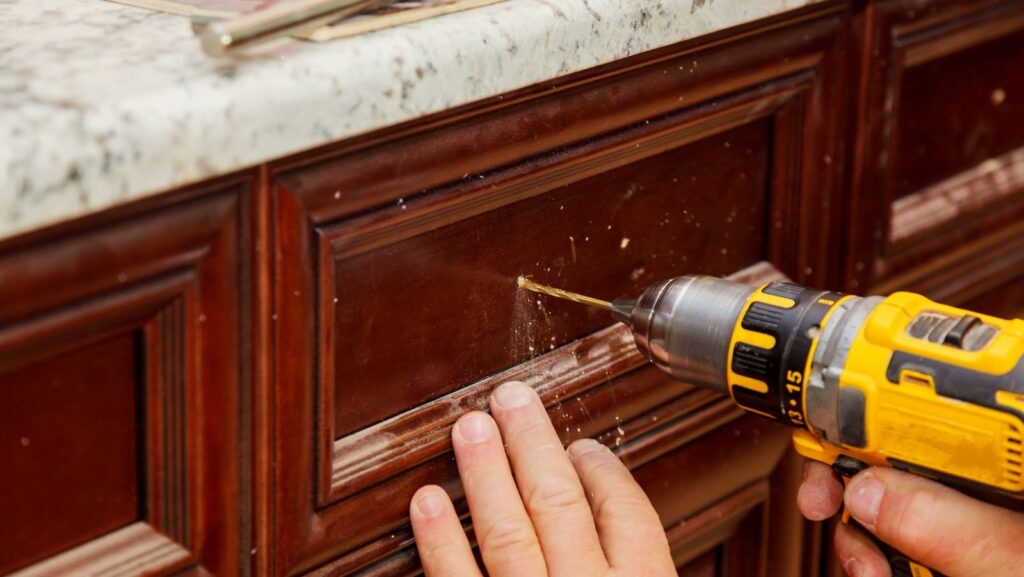
One of the essential tools for adjusting cabinet doors is a drill. Here are some of the other tools you’ll need and some troubleshooting tips to get your cabinet doors looking and working correctly:

Tools:
– Drill and drill bits
– Screwdriver (both Phillips and flathead)
– Measuring tape or ruler
– Level
Troubleshooting Tips:
– If the cabinet doors are rubbing against each other, adjust the hinges so that they are flush with the cabinet frame.
– If the cabinet doors are uneven or crooked, use a level to determine which hinge needs adjustment and tighten or loosen the screws accordingly.
– If the cabinet doors are loose or wiggling, tighten the screws on the hinge plates or replace the screws with longer ones for a better grip.
With the right tools and some troubleshooting tips, adjusting cabinet doors is a quick and straightforward task that can give your kitchen an instant facelift.
Measuring Tape
Measuring tape is one of the essential tools required for adjusting cabinet doors. Accurate measurements are crucial when troubleshooting and fixing issues with cabinet doors such as sagging or misaligned doors.
Here’s how to use a measuring tape to adjust cabinet doors:
1. Measure the dimensions of the cabinet doors and compare them to the dimensions of the cabinet frame. If the doors are too big or small, adjust them accordingly.
2. Use a measuring tape to ensure that the gap between each door and the frame is even on all sides.
3. Measure the distance between the top of the cabinet doors and the bottom of the countertop. Adjust the doors to ensure they are straight and level.
Remember to take accurate measurements throughout the adjusting process to ensure your cabinet doors fit and function correctly.
Adjusting Cabinet Doors: Step-by-Step Guide
Properly adjusting cabinet doors is an important part of home maintenance, but for many, it is a daunting task. Fortunately, it can be a fairly straightforward process if you have the right tools and understand the steps involved in the process.
Here is a comprehensive guide on how to adjust cabinet doors and make sure they look neat and properly aligned.
Identify the Issue with the Cabinet Door
If you are facing issues with your cabinet doors, such as alignment problems or difficulty in closing/opening, you may need to adjust them. Here is a step-by-step guide to help you troubleshoot your cabinet door problems.
1. Check for loose screws: Make sure all screws on the hinges and mounting plates are tightened.
2. Realign the hinges: Analyse the gap between the door and the cabinet frame. If it is uneven, adjust the hinges up/down or left/right.
3. Change the hinge position: If aligning the hinges is not possible, try changing the hinge position to make the door level.
4. Check for damage: Inspect the hinges and mounting plates for any damage or wear and tear. Replace these parts if necessary.
5. Replace the door: If the door is severely damaged, replace it with a new one.
Remember, adjusting cabinet doors requires attention to detail and patience. Correcting the door alignment may take several adjustments, so take your time and work through each step carefully.
Adjust the Hinges to fix the Issue
If you are having trouble with misaligned or loose cabinet doors, adjusting the hinges can be a simple solution to fix the issue.
Here is a step-by-step guide to adjusting cabinet doors:
1. Identify the type of hinge on your cabinet door.
2. Locate the screws on the hinge and use a screwdriver to loosen them.
3. Adjust the position of the door by pushing it up, down, or side to side until it is properly aligned.
4. Tighten the screws on the hinge and test the door to see if it opens and closes smoothly.
5. If the problem persists, try adjusting the screws on the hinge plates or replacing the hinge altogether.
Pro tip: It’s important to make small adjustments to the hinge screws and test the door after each one instead of making large adjustments all at once. This will help prevent further misalignment or damage to the cabinet door.
Check and Fine-Tune as Needed
Having cabinet doors that are uneven or misaligned is a common problem that can affect the overall look and functionality of your kitchen. Fortunately, adjusting cabinet doors is an easy DIY fix that can save you money and enhance the appearance of your kitchen.
Here is a step-by-step guide to follow:
1. Inspect the doors to determine which ones need adjusting.
2. Locate the screws on the hinges and tighten them with a screwdriver.
3. If the doors are still misaligned, loosen the screws and adjust the position of the doors.
4. When the doors are aligned, tighten the screws and test the doors to make sure they open and close smoothly.
5. Fine-tune the hinges as needed to ensure the doors are level and operating correctly.
Pro tip: Keep your cabinets clean and free from clutter to maintain easy access to your items, and prevent wear and tear on the hinges.
Replacing Cabinet Door Hinges
Replacing cabinet door hinges can help bring life back to your kitchen cabinets. For those interested in upgrading their kitchen cabinets, replacing the hinges may be the best and most cost-effective solution.
This article will discuss the steps needed to replace cabinet door hinges, as well as provide some tips for troubleshooting any issues that may arise when adjusting cabinet doors.
Identify the Type of Hinge you Need
Before replacing cabinet door hinges, it’s essential to identify the type of hinge you need. There are three common types of cabinet door hinges:

1. Surface-Mounted Hinges: These hinges attach to the surface of the cabinet and door and are visible on the outside.
2. Butt Hinges: These hinges are concealed within the wood of the cabinet and door and are not visible when the door is closed.
3. European-Style Hinges: These hinges are also concealed and typically used in more modern cabinets that have a full overlay door covering the cabinet box.
It’s essential to note that different types of hinges require different steps for replacement or adjustment, so identifying the type of hinge you need beforehand will help streamline the process.
Remove the old Hinge
Removing the old hinge when replacing cabinet door hinges is an important step in ensuring a proper fit and functionality. Before you can remove the old hinge, make sure to troubleshoot any issues with adjusting the cabinet doors.
Here are the steps to follow to remove the old hinge while replacing cabinet door hinges:
First, remove the cabinet door from the cabinet by unscrewing the screws holding the hinge in place.
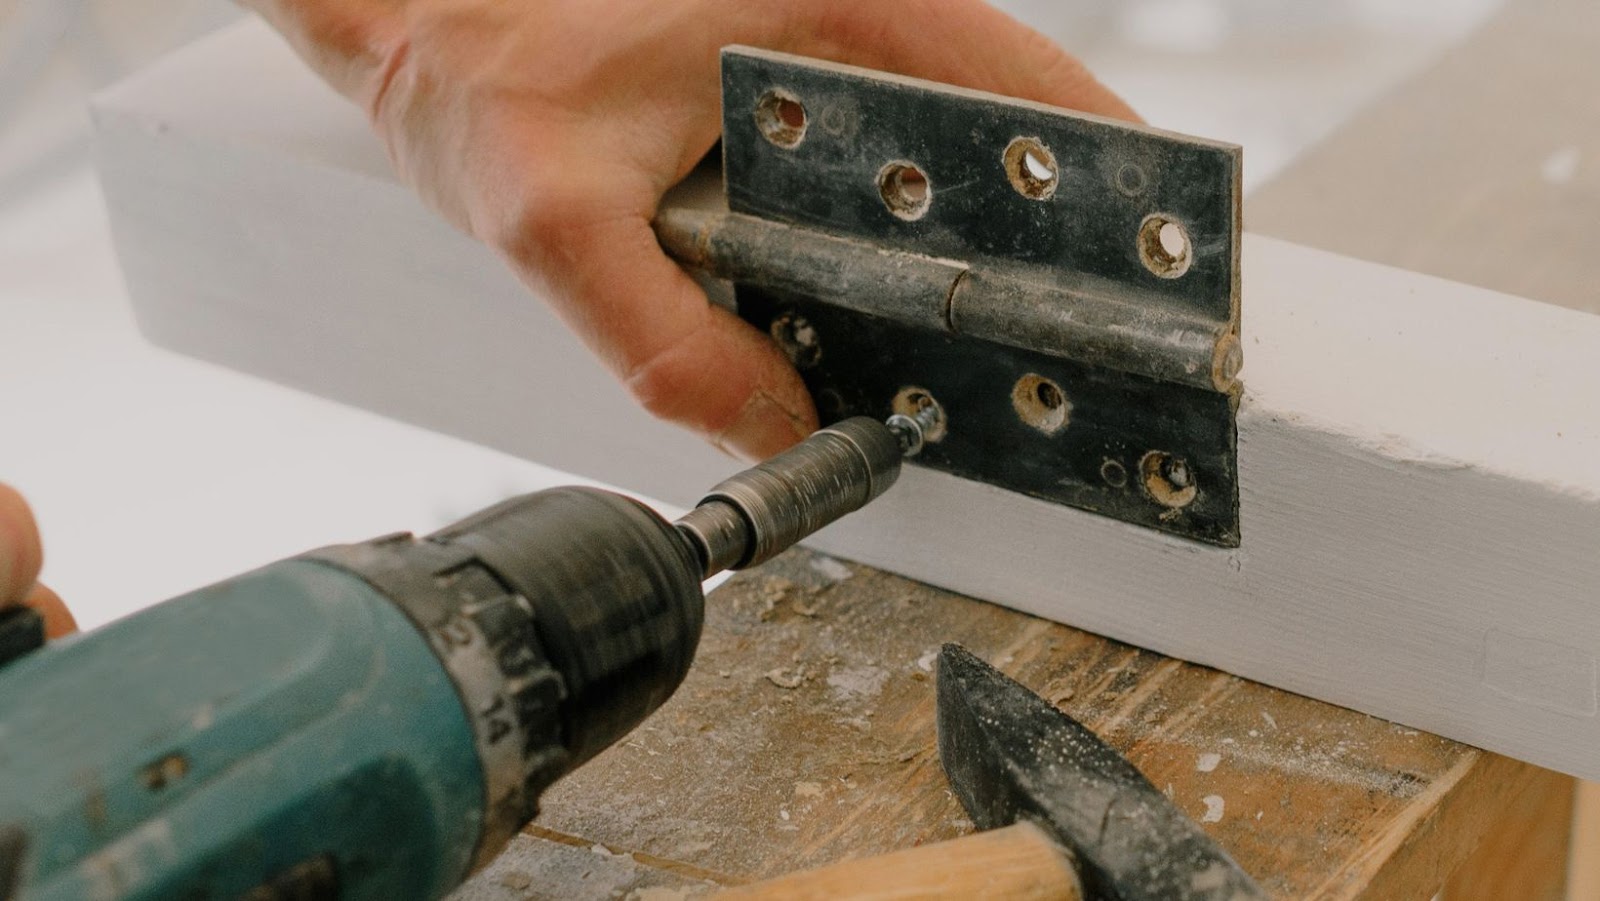
Next, use a screwdriver or drill to unscrew and remove the old hinge from the door.
Be sure to remove any leftover screws or debris from the old hinge before installing the new one.
Finally, install the new hinge in the same location as the old one, making sure it is aligned properly and screw it into place.
Pro Tip: It is important to make sure that the new hinge matches the size and shape of the old hinge to ensure a proper fit and avoid any further adjusting issues.
Install the new Hinge
If you’re experiencing issues with your cabinet doors not closing properly or hanging at an odd angle, replacing the hinges might be the solution. Here are the steps to follow for replacing and installing new cabinet door hinges:
Step 1: Remove the old hinges from the cabinet door and the frame using a screwdriver.
Step 2: Purchase new hinges that are the same size and type as your old ones.
Step 3: Place the new hinge onto the cabinet door and screw it in place.
Step 4: Hold the door up to the cabinet frame and align the hinge with the screw holes.
Step 5: Screw the hinge into the frame and ensure that it is attached securely.
Step 6: Test the door by opening and closing it to ensure it is now properly aligned.
Properly adjusting cabinet doors is essential for the functionality and overall appearance of your cabinets. By following these simple steps, you can get your cabinet doors back on track in no time.
Conclusion
In conclusion, adjusting cabinet doors may seem like a daunting task, but it is a straightforward process if you follow these troubleshooting tips.
– If your doors are rubbing against each other, adjust the hinges with a screwdriver and move the doors an equal distance apart.
– If your doors are uneven or misaligned, adjust the height of the hinge with a screwdriver until both doors match.
– If your doors won’t close, check the screws on the hinges for looseness and tighten as needed.
– If your doors are loose, adjust the hinge plate with a screwdriver to tighten the door’s tension.
These simple tips can help you adjust your cabinet doors quickly and easily without the need for professional help.
Pro Tip: Regularly check and adjust your cabinet doors to keep them functioning smoothly and prevent further problems.


