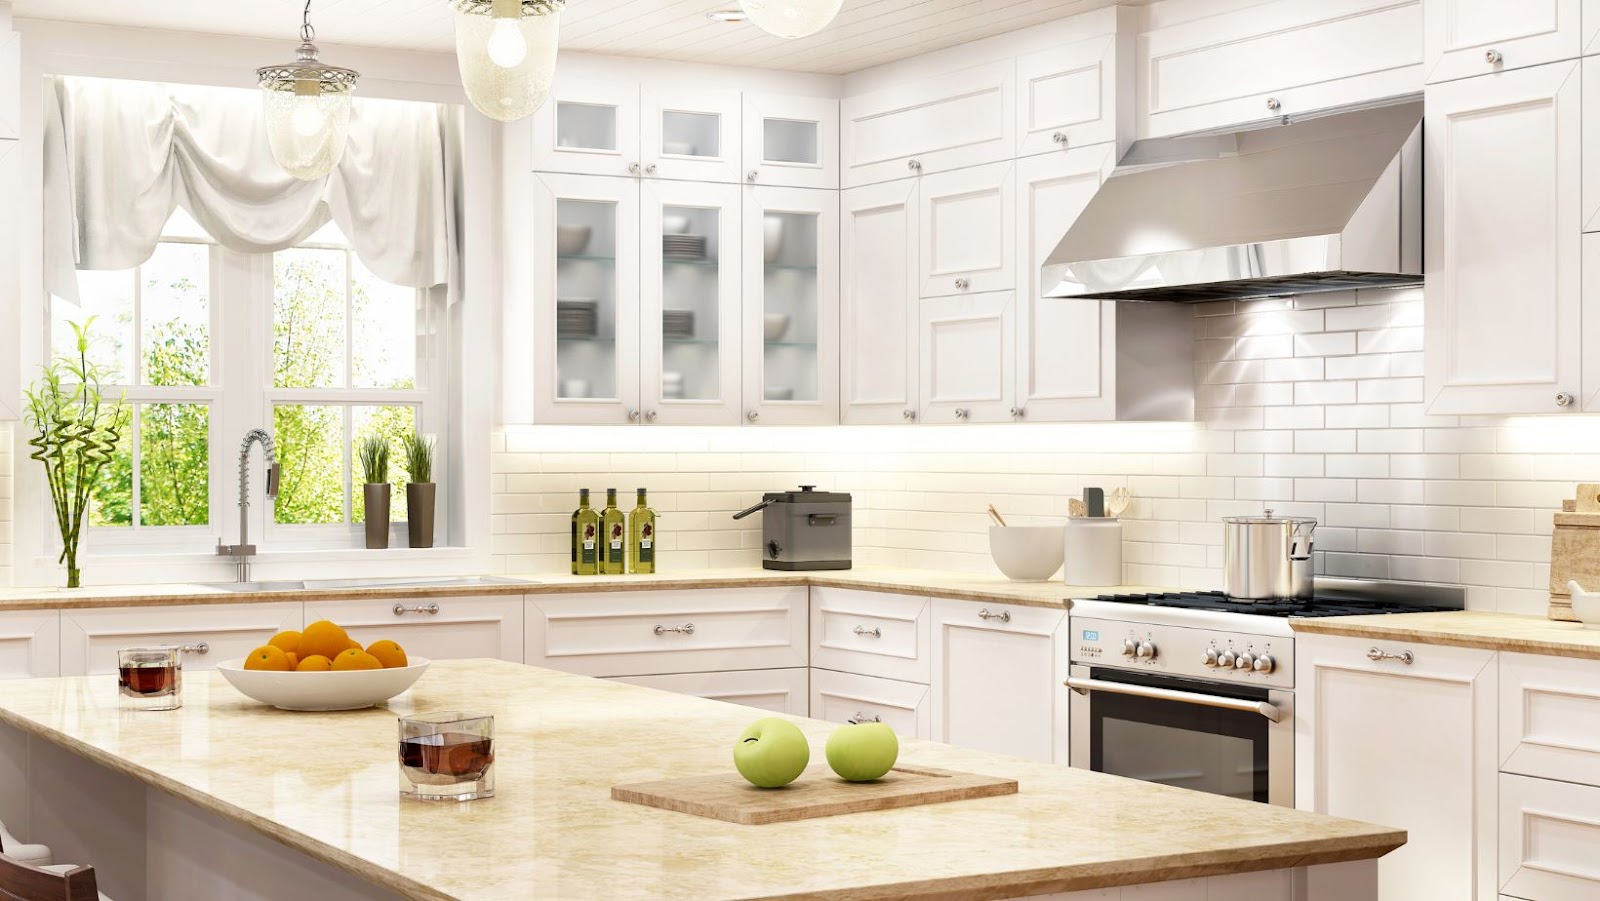
Tips for Getting a Professional Finish When Spraying Cabinet Doors
Spraying cabinet doors is an efficient and effective way to achieve a professional finish, but it requires skill and attention to detail. Here are some tips to keep in mind when spraying cabinet doors to get a flawless finish:Clean and prep the surface of the cabinet doors thoroughly before spraying.Use a fine-grit sandpaper to smooth out any rough patches and ensure an even surface.Spray in thin, even coats to prevent drips and sags.Keep the sprayer moving in a controlled, back-and-forth motion to ensure even distribution.Allow plenty of time for each coat to dry before applying another one.Use a high-quality paint or finish specifically formulated for cabinets to ensure durability and resistance to wear and tear.Finally, be patient and take your time, rushing the process will lead to imperfections.
How to Spray Cabinet Doors
Before spraying cabinet doors, it is important to properly prepare them first. This will ensure that your finished product will look professional and have a smooth, even finish.Preparing the doors for spraying involves things like sanding, priming, filling, and masking. We will go into greater detail about each of these steps and how to properly complete them.
Remove the Cabinet Doors and Hardware
Removing cabinet doors and hardware is a crucial step in preparing cabinet doors for spraying and achieving a professional finish. Here are some tips to follow for an efficient and effective process:Firstly, label the removed cabinet doors according to their location so they can be easily reinstalled later.Carefully remove all handles, knobs, and hinges using a screwdriver or power drill.Use masking tape to label the hardware so they don’t get mixed up during the painting process.Take apart any assembled cabinets to make sure all surfaces are coated evenly.Lightly sand the cabinet doors to remove any existing paint or varnish, paying extra attention to areas that get a lot of wear and tear.Wipe down the doors and cabinets with a damp cloth to remove any dust particles.Once the doors are free of dust particles, apply a suitable primer to help the final coats of paint adhere to the cabinet surface better.
Pro tip: Do not apply too much pressure while sanding or wiping the doors, as this could roughen the surface and negatively impact the finished result.
Clean and Sand the Doors to Remove any Dirt, Grime or Previous Stains
Before spraying cabinet doors, it’s essential to prepare them by cleaning and sanding them properly to remove any dirt, grime or previous stains that could compromise your finish.
Here’s how to clean and sand your cabinet doors for a professional finish:
Start by removing the cabinet doors from their hinges and removing all hardware.
Next, use a mixture of warm water and dish soap to clean the doors thoroughly. Make sure to pay special attention to any visible dirt, grime or grease.
Once the doors are dry, use sandpaper to remove any previous finishes, such as paint or varnish, and create a smooth surface for the new finish to adhere to. Start with a low-grit sandpaper and gradually switch to a high-grit sandpaper for the best results.
After sanding, wipe the doors with a clean cloth to remove any dust, and you’ll be ready to begin the spraying process.
Pro-tip: Wear a mask while sanding to avoid any dust inhalation.
Fill any Holes and Scratches with Wood Filler and Sand the Doors Again
To achieve a professional finish when spraying cabinet doors, it’s essential to prepare them correctly. One crucial step is filling any holes and scratches with wood filler before sanding the doors again.
Here are the steps you can follow:
1. Clean the cabinets thoroughly with a degreaser and let them dry.
2. Remove the cabinet doors and hardware and label them for easy reassembly later.
3. Fill any holes, cracks, or scratches with a wood filler, using a putty knife to ensure even coverage.
4. Wait for the filler to dry, following the manufacturer’s instructions, then sand the doors again until they are smooth and even.
Pro Tip: Applying a primer after sanding will help the paint adhere better and improve the overall finish of your sprayed cabinets.
Setting Up Your Work Space
Before you even start spraying your cabinet doors, there are many important steps to take in order to ensure a professional finish. Setting up your work space correctly is one of the most important parts of the process. It’s important to ensure that your work space is well-ventilated, clean, and free of any dust that could ruin your paint job.Keep reading for more tips on setting up your work space for a professional finish.
Choose a Well-Ventilated Area to Spray the Cabinet Doors
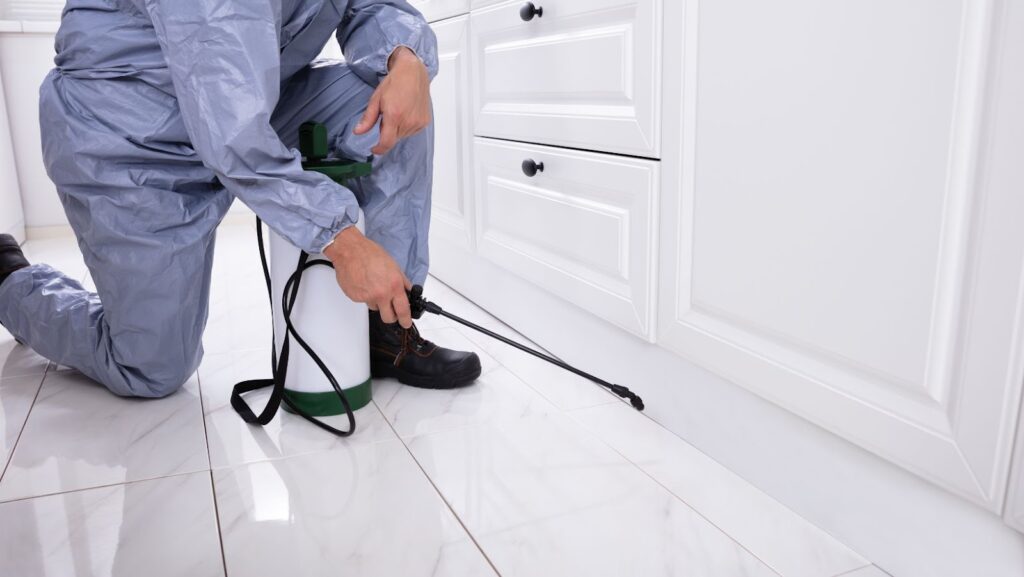
To achieve a professional finish when spraying cabinet doors, it is crucial to set up your workspace correctly. Choosing a well-ventilated area to spray the cabinet doors is an essential step in this process.Here’s how to set up your workspace for spraying cabinet doors:Choose a well-ventilated area, preferably outdoors or in a garage with good air circulation.Cover the floor and any nearby furniture with drop cloths to protect them from overspray.Set up a spray booth using plastic sheeting and painter’s tape or purchase a ready-made spray tent.Position the cabinet doors on a stable work surface, such as a sawhorse, and secure them in place with clamps.Before spraying, clean the cabinet doors thoroughly with a degreaser and sand them to create a smooth surface.Wear a respirator mask and protective eyewear when spraying to avoid inhaling fumes or getting overspray in your eyes.By following these tips, you can achieve a flawless finish when spraying cabinet doors, making them look like they were done by a professional.
Set up a Drop Cloth and Secure the Doors to a Work Surface
Setting up a drop cloth and securing the cabinet doors to a work surface are two critical components of achieving a professional finish when spraying cabinet doors. Here’s what you should do:
1. Cover your work area with a drop cloth to protect it from overspray.
2. Set up a work surface where you can securely position the cabinet doors to be sprayed. You can use sawhorses or a workbench.
3. To secure the cabinet doors to the work surface, you can use clamps, wood blocks, or screws, depending on the size and shape of the doors.
4. Make sure that the doors are positioned in a way that makes it easy to spray all the surfaces without having to move them during the process.
By following these tips, you can achieve a smooth, even finish on your cabinet doors that will look professional and last for years to come.
Wear Appropriate Protective Gear
When spraying cabinet doors, it’s important to wear appropriate protective gear to ensure your safety and the quality of the finished product.Here are the protective gear you should wear:
Safety goggles: Protect your eyes from paint fumes and overspray. Make sure your goggles are ventilated and fit snugly on your face.
Respirator mask: Protect your lungs from paint fumes and dust particles. Ensure your mask is rated for spray painting and properly fits your face.
Gloves: Protect your hands from paint and solvents. Use gloves that are chemical-resistant and have a comfortable fit.
Protective clothing: Wear long-sleeved shirts, pants, and shoes that cover your skin. Use a coverall if possible to protect your outfit.
Pro Tip: Ensure that your work area is well ventilated to further prevent paint fume exposure.
Choosing the Right Sprayer and Paint
Any project involving spray finishing will require some preparation, like choosing the right sprayer, selecting the right kind of paint and primers, and prepping the surface of your cabinet door. Therefore, in order to get a professional finish when spraying cabinet doors, it is essential to make sure you pick the right materials.Let’s take a closer look at the best practices when it comes to selecting a paint sprayer and paint.
Select the Correct Sprayer for the Paint Type and Project
Choosing the correct sprayer for your paint type and project is essential to achieving a professional finish when spraying cabinet doors. Here are some tips to help you select the right sprayer:
1. Airless Sprayer: An airless sprayer is ideal for painting large surface areas such as cabinet doors. It provides an even and consistent coverage and works well with thicker paints.
2. HVLP Sprayer: HVLP (High Volume Low Pressure) sprayers are perfect for detailed work such as spraying cabinet doors. They are versatile and produce a fine finish, making them ideal for smaller projects.
3. Compressed Air Sprayer: Compressed air sprayers are suitable for projects that require a thicker paint application, such as priming cabinet doors. They are also suitable for larger projects that require increased productivity.
Remember to choose the appropriate paint and thinning agents that are compatible with your sprayer to ensure a successful finish.
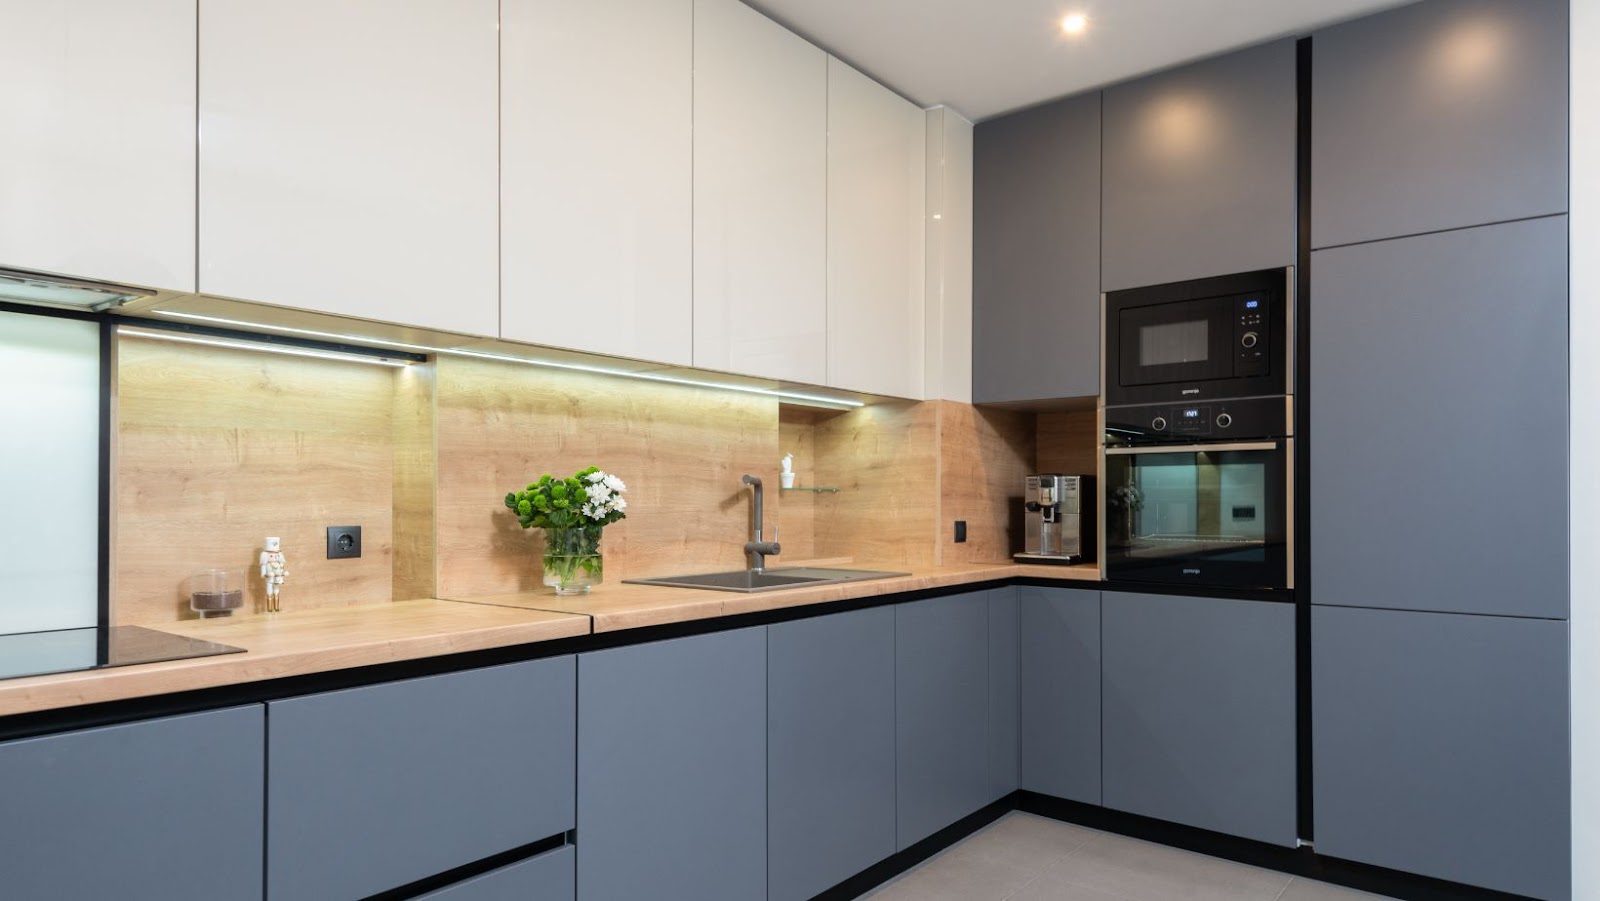
Choose a High-Quality Paint for a Professional Finish
Choosing the right paint is essential to achieve a professional finish when spraying cabinet doors. High-quality paint offers excellent coverage, durability, and colour retention, making it the best choice for cabinetry projects.Here are some tips for selecting the right paint for your project:Look for a paint with a high percentage of solids. Higher solids mean more paint particles and less solvent, resulting in better coverage and durability.Choose a paint with a glossy finish for its excellent stain resistance and cleanability.Opt for a paint with a low drying time to reduce the chances of sagging or dripping.Consider using a specialised cabinet paint that is designed for cabinetry projects and offers a hard, durable finish.Following these tips will help you select the right paint for your cabinet doors, which will result in a professional finish that lasts.
Thin the Paint as Necessary and Perform a Test Spray
To achieve a professional finish when spraying cabinet doors, it’s important to choose the right sprayer and paint and to thin the paint as necessary. Here are some tips:
Choose the right sprayer: HVLP (High Volume Low Pressure) sprayers are ideal for cabinet doors, as they produce less overspray and provide a more even coverage.
Choose the right paint: Use a high-quality paint specifically designed for spraying on cabinets. These paints have a higher solids content, which ensures a smoother finish.
Thin the paint as necessary: Follow the manufacturer’s recommended thinning ratios to achieve the right consistency for your sprayer.
Perform a test spray: Before starting your project, perform a test spray on a scrap piece of wood. This will allow you to adjust the sprayer settings and ensure the consistency and coverage you’re looking for. Pro tip: Always wear appropriate safety gear, such as a respirator mask and protective eyewear, when spraying paint.
Spraying the Doors
Spraying cabinet doors is a great way to achieve a smooth and professional finish. However, it can be quite a challenge to achieve that expert finish if you’re not experienced in this type of work. Luckily, with a few helpful tips, you can spray cabinet doors with excellent results.Let’s explore the steps for completing this task.
Spray the Doors in Long, Even Strokes
Spraying the doors of your cabinets can give them a professional finish, but it’s important to do it correctly for optimal results. Here are some tips for spraying cabinet doors:Before spraying, make sure the doors are clean and free of any debris or dust. Use sandpaper or a deglosser to remove old finishes.Set up a clean and well-ventilated workspace with enough room for the doors to dry properly.Choose the right type of sprayer (airless or HVLP) and thin the paint according to the manufacturer’s instructions for optimal consistency.Hold the sprayer about 6-8 inches away from the door and spray in long, even strokes, overlapping each pass slightly to ensure a uniform finish. Avoid overspraying or allowing the paint to pool or drip.Allow the doors to dry for the recommended amount of time, and sand lightly between coats if necessary.
Apply the Paint in Thin Coats, Allowing Each Coat to Dry Thoroughly
When spraying cabinet doors, it’s important to apply the paint in thin coats and allow each coat to dry thoroughly to achieve a professional, seamless finish.
Follow these tips for best results:
- Choose the right paint and equipment for your project, including a high-quality sprayer and paint specifically formulated for cabinets.
- Properly prepare your cabinet doors by cleaning and sanding them beforehand.
- Apply a thin and even first coat of paint, holding the sprayer 6-8 inches away from the surface.
- Allow the paint to dry completely before applying subsequent coats.
- Lightly sand the surface between each coat to remove any imperfections.
- Apply 2-3 thin and even coats of paint, allowing each coat to dry completely before sanding and applying the next coat.
- Pay close attention to the edges and corners, making sure to apply enough paint to cover these areas without causing drips or runs.
Pro tip – Practice makes perfect with spraying cabinet doors, so don’t be afraid to experiment with different techniques and equipment until you find the best approach for your specific project.
Use a Paint Brush to Touch up any Areas that Were not Sprayed Evenly
Spraying cabinet doors is a quick and effective way to give your kitchen a new look. Using a paint sprayer can deliver a smooth and even finish, but there can be times when some areas are not sprayed evenly. To remedy this, you can use a paintbrush to touch up any missed spots.Here are the steps to follow:After spraying the doors, inspect them for any missed spots or areas where the spray was uneven.Dip a paintbrush in the same paint used for spraying and tap off the excess paint.Lightly brush over the missed spots or uneven areas.Avoid over-brushing as this can leave unsightly brush marks.Allow the doors to dry according to the paint manufacturer’s instructions before installing them.
Pro tip: Always cover nearby surfaces and wear protective gear such as a mask and goggles when using a paint sprayer.
Completing the Project
Spraying cabinet doors is a great way to update the look of your kitchen or other cabinets quickly and easily. With the right preparation, tools and techniques, you can get a professional finish on your cabinet doors.In this section, we will look at tips for completing the project.
Allow the Paint to Dry Completely Before Reassembling the Cabinet Doors
Allowing the paint to dry completely before reassembling the cabinet doors is a crucial step in getting a professional finish when spraying cabinet doors.Here are some additional tips to ensure a perfect finish:Sand the cabinets doors: Sand the cabinet doors to remove any existing finish, to create a smooth surface, and to help the new paint adhere to the surface.Clean the cabinet doors: Using a clean cloth or microfiber cloth, wipe down the cabinet doors to remove any sanding residue, dirt, or debris.Choose the right paint: Use a paint that is specifically designed for cabinets and trim, as these paints will hold up to wear and tear better than regular paint.Use a paint sprayer:
A paint sprayer produces a professional finish and is better than painting with a brush or roller.Allow proper drying time: Let the first coat dry for a few hours before applying the second coat. Allow the final coat to dry for a full day before reassembling the cabinet doors.These tips will help you achieve a smooth and professional finish when spray painting your cabinet doors.
Replace any Hardware and Reattach the Cabinet Doors to the Cabinet Frames
Replacing any hardware and reattaching the cabinet doors to the cabinet frames is the final step to achieving a professional finish when spraying cabinet doors.Here are some tips to followRemove any hardware from the cabinet doors and drawers..Clean all surfaces thoroughly, removing any dust or debris.Spray paint the cabinet doors and drawers, allowing adequate drying time between coats.Once the paint has dried, reattach the cabinet doors to the cabinet frames using a drill and screws.Install new hardware, such as handles or knobs, for a fresh look.Take your time and be patient, ensuring each step is completed with care to achieve a polished and professional finish.
Pro tip: To ensure a smooth and even finish, use a high-quality paint sprayer that is appropriate for the type of paint you are using.
Clean up your Workspace and Store the Sprayer and Paint Materials Properly
Cleaning up your workspace and storing the sprayer and paint materials properly are essential steps to achieving a professional finish when spraying cabinet doors.Here are the steps to follow:Clean the sprayer immediately after use. Empty any remaining paint from the sprayer and run water through the system until it runs clear.Disassemble the sprayer and clean each part with warm, soapy water. Rinse thoroughly and let dry.Store the sprayer in a clean, dry area, preferably in its original packaging or a protective case.Dispose of any unused paint or properly store it according to the manufacturer’s instructions.Clean up your workspace, including any overspray or drips on the cabinet doors or surrounding area.Proper storage and cleanup prevent equipment damage, ensure efficient operation, and enhance the results of your cabinet door spraying project.