Tips for Maintaining Your Dressing Table

Maintaining your dressing table is important to keep your space organised and reduce clutter. Here are a few tips to maintain your DIY dressing table:
1. Clean your dressing table regularly with a damp cloth, especially before and after using it.
2. Use trays and organisers to keep your makeup, jewellery, and accessories in place.
3. Avoid putting heavy items on your dressing table to prevent it from getting damaged or warped.
4. Use coasters for hot objects like hair straighteners or curling irons to protect the surface of your table from heat damage.
5. Keep your dressing table away from direct sunlight to prevent fading or discoloration of the table.
By following these tips, you can ensure that your DIY dressing table lasts for a long time and stays organised for efficient use.
Do it Yourself Dressing Table
Keeping your dressing table clean and organised can be a difficult task, especially if you don’t have the right tools or know-how.
However, there are a few tips and techniques that can help you maintain and organise your dressing table with ease. With a bit of effort and dedication, you should be able to keep your dressing table looking neat and tidy.
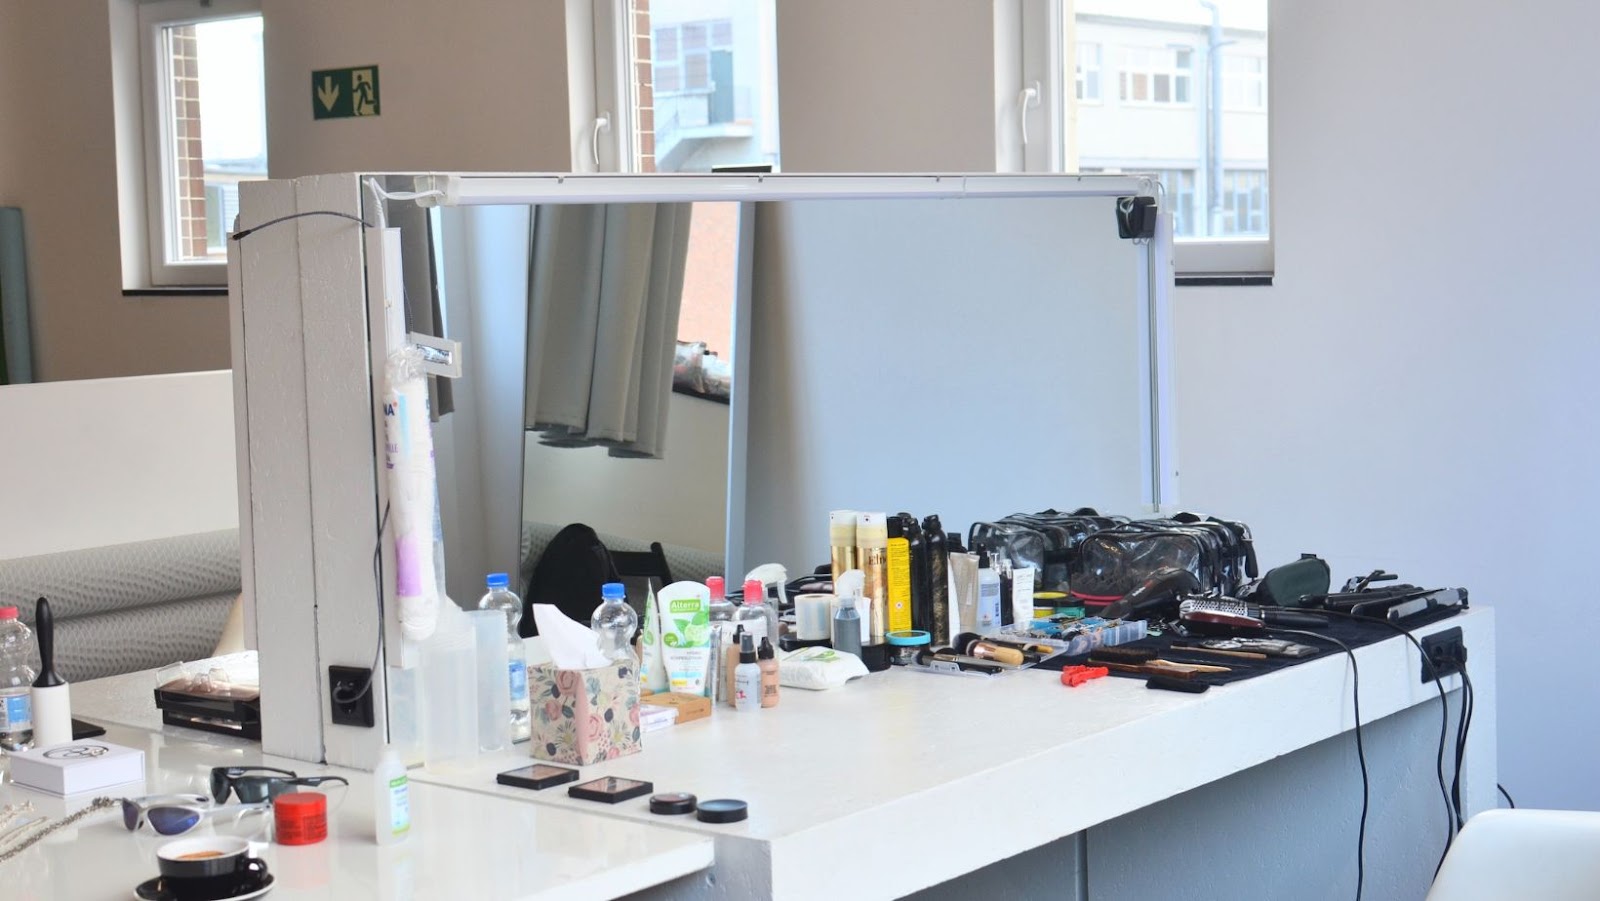
Clean and Dust Your Dressing Table Regularly
Cleaning and maintaining your dressing table regularly is essential to keep it organised and looking its best. Here are some tips to help you maintain your DIY dressing table:
1. Start by removing all items from the table’s surface and drawers.
2. Dust the surface and the drawers using a microfiber cloth or a soft-bristled brush. You can also use a handheld vacuum cleaner to suction away dust particles and debris.
3. Wipe down the surface and drawers with a dry or slightly damp cloth. Avoid using too much water or any harsh cleaning chemicals that may damage the wood or finish.
4. Sort and organise the items that you removed from the table, discarding any items that no longer serve their purpose or are expired.
5. Return the items to their designated places, ensuring that everything is neat and easy to access.
By following these simple steps, you can keep your DIY dressing table looking beautiful and functioning efficiently.
Pro-tip: Make this cleaning and organising routine a part of your weekly cleaning schedule to avoid unsightly clutter and disorganisation.
Create a System of Organisation for Your Makeup and Accessories
Creating an organised system for your makeup and accessories can save time and make getting ready a hassle-free task. With a Do-It-Yourself dressing table, you can build a personalised space of your own with an organised storage system. Here are some tips to consider as you create your dressing table.
1) Clean your table every two weeks to keep it neat and tidy.
2) Create designated storage spaces for different types of products, such as a drawer for lipsticks or a tray for brushes.
3) Use dividers or acrylic organisers to keep products upright and separated, making them easy to find.
4) Consider adding a mirror with adjustable lighting for precision makeup application.
5) Utilise vertical storage by adding shelves to your table that can hold towels, table cloth, or your jewellery box.
With a little bit of planning and creative thinking, you can build a customised and efficient dressing table perfect for your needs for an everyday quick touch-up or turning you into a diva.
Pro tip: Keep your makeup brushes in a pretty vase or holder to avoid losing them in the chaos.
Use Drawer Dividers or Inserts to Keep Items in Their Place
Keeping a dressing table organised can be a challenge, but using drawer dividers or inserts can help keep items in their place and make getting ready in the morning a breeze.
Here’s how you can do it yourself:
Measure the inside of your dressing table drawers and purchase drawer dividers or inserts that fit your space.
Arrange the dividers or inserts in the drawer to create compartments for your makeup, skincare, and other accessories.
Label each compartment so you can easily find what you need.
Place items back in their designated compartments after each use to maintain the organisation.
Regularly clean out and declutter your dressing table to prevent clutter from accumulating.
Pro tip: Use clear organisers or dividers to easily see what’s in each compartment and prevent items from getting lost.
DIY Repairs and Upgrades
If you have a do it yourself dressing table and want to keep it looking in top condition, there are some simple DIY repairs and upgrades you can do to maintain it. These simple tips can help to make sure your dressing table looks its best and lasts for a long time.
Let’s take a look at some of the things you can do to make sure your dressing table remains beautiful and functional.
Fix loose or wobbly legs with wood glue and clamps
If the legs of your dressing table are loose or wobbly, don’t worry. A simple solution to fix this problem is to use wood glue and clamps.
Here are the steps to follow for a DIY repair:
1. Remove all the drawers and clear any items on the tabletop.
2. Turn the dressing table over so that the legs are facing upwards.
3. Apply a generous amount of wood glue to the joint where the leg and the tabletop meet.
4. Use a clamp to hold the leg in place and secure it to the tabletop. Make sure to clean off any excess glue using a damp cloth.
5. Allow the glue to dry as per the manufacturer’s instructions.
6. Repeat the process for each loose leg.
7. Once the glue has dried, turn the dressing table right side up and check if the legs are still wobbly or loose. If they are, repeat the process until the legs are securely fixed.
Pro tip: Consider adding screws or brackets for a more permanent fix.
Add a Fresh Coat of Paint or Stain to Update the Look
Adding a fresh coat of paint or stain is an affordable and easy DIY repair and upgrade that can transform the look of your dressing table, making it look brand new again. Here are some tips to keep in mind when taking on this do-it-yourself project:
1. Choose the right paint or stain depending on the material of your dressing table.
2. It is advisable to use sandpaper to smoothen the surface of your dressing table before painting or staining to ensure clean application and an even finish.
3. Don’t forget to use a primer before applying the paint or stain to make it last longer.
4. Opt for non-toxic and eco-friendly paints or stains to avoid inhaling harmful chemicals during and after painting.
With these tips, it’s easy to revamp an old dressing table into a stylish and chic piece of furniture that can brighten up your entire room.
Replace Worn or Damaged Hardware Such as Drawer Knobs or Pulls
One of the easiest DIY repairs and upgrades you can do for your dressing table is to replace worn or damaged hardware, such as drawer knobs or pulls. This simple task can transform the look of your dressing table without having to overhaul its entire structure.
Here are the steps on how to replace worn or damaged hardware:
Choose the hardware style and finish that matches your dressing table.
Use a screwdriver to remove the old hardware.
Measure the distance between the screw holes for the new hardware.
Place the new hardware in position, and insert the screws into the holes.
Tighten the screws until the hardware is secure.
Test the hardware by opening and closing the drawers to ensure a proper fit.
Pro tip: When shopping for new hardware, consider purchasing extra pieces as backups in case of future wear and tear or if you want to make further upgrades.
Storage Solutions
Do you have a dressing table but lack storage space to keep it neat and organised? Storage solutions are key when it comes to keeping your dressing table in order and making it look tidy. Here, we share some tips on how to maximise your storage capacity with clever do-it-yourself dressing table solutions. Read on to find out more.
Utilise Vertical Space with Wall-Mounted Storage Options
Utilising vertical space with wall-mounted storage options is an excellent technique to increase storage space in a small dressing table while also keeping clutter off the table’s surface.
Here are some DIY options for wall-mounted storage:
1. Hanging baskets – You can use simple wire baskets or trendy woven ones to store makeup items and accessories.
2. Magnetic boards – You can create a magnetic board by affixing a sheet of metal to the wall and using magnetic containers to store makeup brushes, eyeliner, and other items.
3. Floating shelves – Simple wooden floating shelves above your dressing table can hold storage baskets or can display your favourite perfumes and accessories.
By installing one or more of these DIY storage solutions on the wall above your dressing table, you will free up space on your table’s surface, keep your beauty products organised, and ensure that everything is within reach when needed.
Pro tip: Before installing any wall-mounted storage, make sure to measure your wall and choose the right size of storage options to suit your needs.
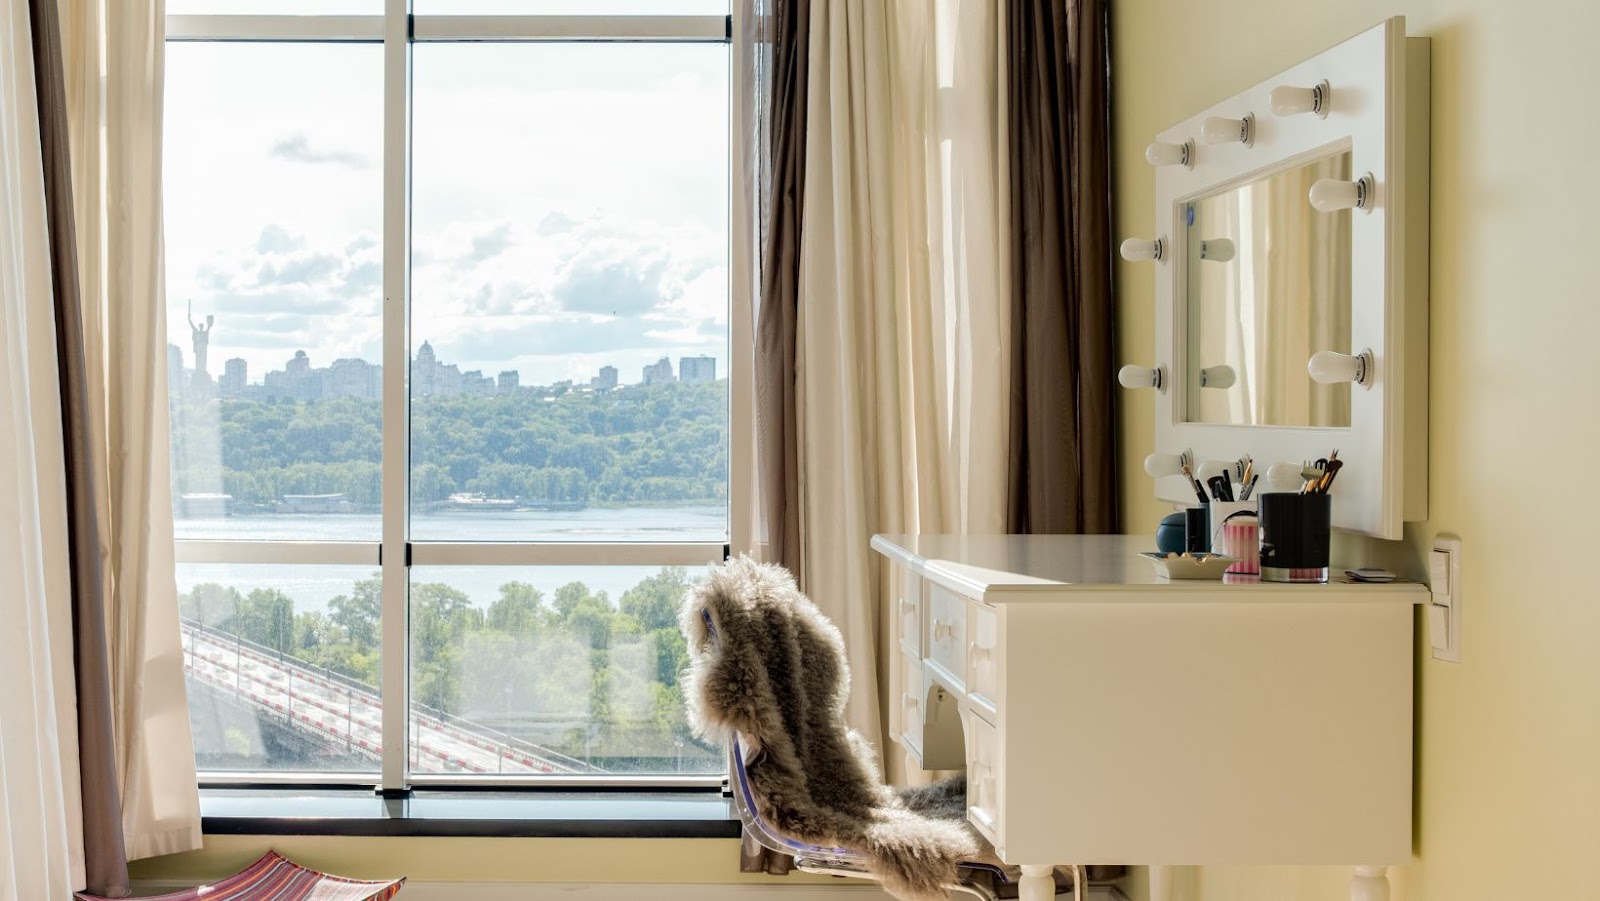
Install a Mirror with Built-in Storage Compartments
Installing a mirror with built-in storage compartments is an excellent DIY solution to create more storage space for your dressing table. The benefits include maximising floor space, easy accessibility, and an organised tabletop. Here’s how you can do it yourself:
Purchase a mirror with built-in storage compartments and the necessary hardware.
Measure the available space on your dressing table and mark the position where you want to install the mirror.
Secure the hardware onto the wall and hang the mirror carefully.
Fill the storage compartments with your makeup, jewellery, and other beauty products, keeping them within easy reach.
Maintaining your dressing table regularly will keep it clean and organised. Besides, you can reduce clutter by discarding any expired, broken, or unused products. Pro Tip: Label each compartment to maintain the organisation, and use a soft cloth to clean the mirror regularly.
Add a Rolling Cart or Small Shelf Unit for Additional Storage
If you’re looking for additional storage for your DIY dressing table, a rolling cart or small shelf unit can be a great solution.
Here are some tips for using these storage options effectively:
Rolling cart: Choose a cart with deep, spacious drawers that can accommodate your cosmetics and beauty tools. Look for a style with locking wheels, so you can keep it in place while you’re using it. You can also personalise it by adding decor items and sticking wallpapers to it.
Small shelf unit: A small shelf unit can provide ample storage for your dressing table essentials. Look for one with multiple tiers or stackable compartments. You can also opt for a compact unit that fits in the corner of your room.
With these simple storage solutions, you can easily maintain a clutter-free dressing table and keep your cosmetics and beauty tools organised.
Pro tip: Take some time to declutter your cosmetics and beauty tools first to avoid cluttering your new storage units.
Styling Tips
Styling your dressing table is an important part of its upkeep. Whether you’re doing it yourself or have someone else do it, styling your dressing table will make it look better visually and help it last longer.
In this article, we’ll take a look at some tips for styling your dressing table. We’ll focus on do-it-yourself styling tips, but will also discuss the benefits of getting your dressing table professionally styled.
Create a Vignette with Decorative Items on top of the Dressing Table
Creating a vignette with decorative items on top of your dressing table is an easy and effective way to elevate its style and functionality, especially if you’ve put together a “do it yourself” dressing table.
Here are some tips to help you create a visually pleasing and practical vignette on your dressing table:
Start with a clean and clutter-free surface.
Use a tray or a decorative bowl as the base for your vignette.
Add items of different heights, shapes, and textures, such as a jewellery box, a vase of fresh flowers, and a decorative mirror.
Keep it simple and cohesive by sticking to a colour scheme or a theme.
Make sure the items are functional and practical to use, such as adding small storage containers or a pot of succulents for added greenery.
Regularly rotate and update the items to keep the vignette fresh and inspiring.
Implement a Colour Scheme or Theme to Tie the Space Together
Implementing a colour scheme or theme is a great way to tie your DIY dressing table together with the rest of your room decor. Here’s how to do it:
Choose a colour palette or theme that matches the overall aesthetic of your room. For example, if your room is decorated in soft, pastel shades, consider incorporating those colours into your dressing table decor.
Pops of colour can add character to the dressing table. Use small plants, jewellery boxes, and photo frames.
Ensure that the colour palette and theme you’ve decided can complement the dressing table elements like makeup brushes and mirrors.
Use similar colours of the same hue, like different shades of blue for instance.
Implementing this simple tip can help your DIY dressing table blend seamlessly into your space and look like a professional furniture piece.
Pro Tip- Keep changing display items to update fresh colours in your vanity every month.
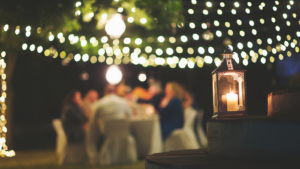
Incorporate Small Plants or Candles to add Warmth and Ambiance to the Area.
To add warmth and ambiance to your DIY dressing table, consider incorporating small plants or candles. These styling tips can make a big difference in the overall look and feel of your dressing area.
Plants are a great addition to any room, and they provide a touch of nature and freshness to your space. Small succulents or potted plants can be easily incorporated into the design of your dressing table. If you’re short on space, consider hanging plants from the wall or ceiling.
Candles are another excellent way to add ambiance and warmth to your dressing area. You can opt for scented or unscented candles depending on your preference. Be sure to select candle holders that complement the overall style of your dressing table.
These small touches can make your DIY dressing table feel like a cozy and inviting space, and they are easy to switch up whenever you’re ready for a change.